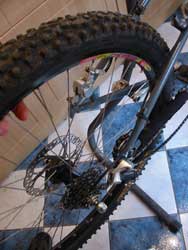
There’s no shortage of consumable items on a typical mountain bike, and brake pads are amongst the most consumable of the lot. Lots of riders have moved over to disc brakes, which can offer better pad life (although occasionally they just crumble to nothing for no adequately explained reason). They’ll still wear out eventually, though. Fortunately replacing them is a piece of cake, especially if you’ve grown accustomed to the three-handed faff of replacing rim brake pads…
 1. Ease yourself into the job by popping the bike in a workstand and taking the appropriate wheel off.
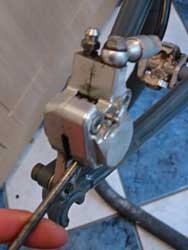
2. The majority of hydraulic brakes are self-adjusting and automagically maintain correct pad clearances as the pads wear. This means that there’ll be no room for unworn pads, so the first step is to push the pistons in the caliper back out. The easiest way to do this is with a broad screwdriver or similar. If you prise the pistons apart with the old pads still in place there’s little risk of damaging the pistons themselves. Owners of brakes with manually-adjustable clearances (like Hope C2s and most varieties of mechanical disc) will need to wind the relevant adjusters out.
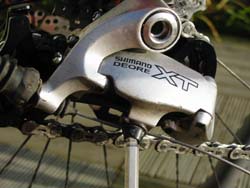
3. Caliper designs vary between brakes, but most have a threaded pad retaining pin. To stop it undoing itself, there’s usually some sort of clip on one end. We’re pretty good at losing these out on the trails, but if by some chance yours is still there, pop it off with pliers and then undo the retaining pin with a suitable Allen key (3mm on Shimano brakes, 2.5mm on Hope Minis).
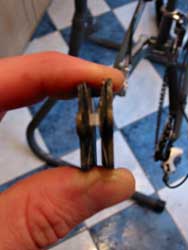
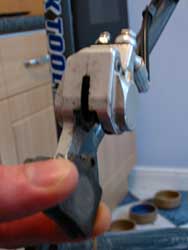 4. With the retaining pin out, the pads and pad return spring (if present) should just slide out of the caliper. On this Hope Mini caliper they come out of the bottom, on Shimano brakes they lift out of the top. Either way, take them out and admire your pad wear handiwork. If your new pads didn’t come with a return spring, hang on to it – you’ll need it in a minute, assuming that you haven’t let the pads get so worn that the prongs have all snapped off the spring. Which is something we’d never do. Not at all. Ever.
 5. Assemble the new pads and return spring. There’s no standard for disc brake pads, so make sure you get the right ones for your brakes. Obviously the pad material needs to face inwards. The spring lives between the pads, with the prongs sitting either side of the pad material and resting on the metal backing plate. There’ll be holes in the pads and spring for the retaining pin, and these should all line up.
 6. Push the whole shooting match back into the caliper. They should slide easily in and come to a definite halt. Often the pistons are magnetic so they’ll hold on to the pads.
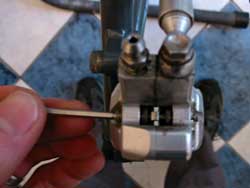
7. Reinsert the retaining pin and snug it down. If it doesn’t line up with the holes in the pads and spring either they’re not pushed fully home or something’s gone in in the wrong orientation. With the pin in, put the clippy thing back on the end to keep it in place.
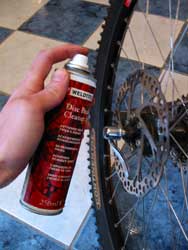
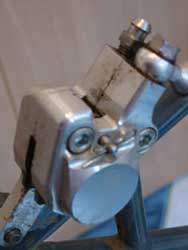
8. Before replacing the wheel, make sure the rotor is clean and undamaged. Give it some brake cleaner action to get rid of any greasy deposits. With everything back together, go outside and do a few hard stops to bed the pads in before venturing back off-road.