Ever wanted to make your own cable cam? Hannah Taylor sent over this “How To” guide to make your own cam mount from readily available materials. All you need to add is some rope.
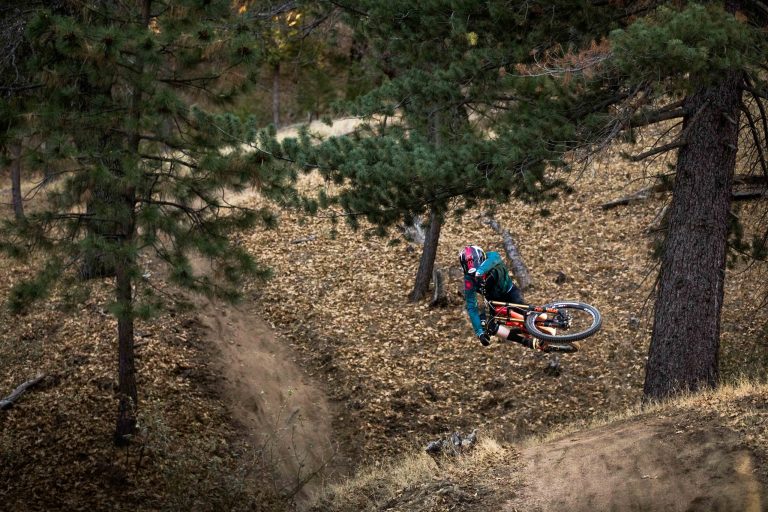
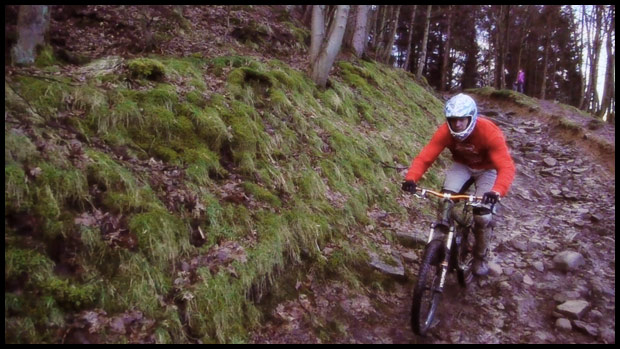
This post gives you an insight into how we made our DIY cable cam and the end video results. It was all filmed on The Beast in the Peak District using a Panasonic GH1 DSLR.
A cable cam is something we’ve been toying with as an idea for shots in our next mountain biking film that is currently in development. There’s two key elements to a cable cam. The rope/cable the camera runs on and the unit holding the camera. Our first choice of cable or rope was decided for us. Coming from a climbing background we had plenty of rope and kit to get it reasonably tense so we decided on 10mm semi static rope as our ‘cable’. The major issue for us was the design and build of the unit. I had seen a really good version on the web so decided to pretty much copy it.
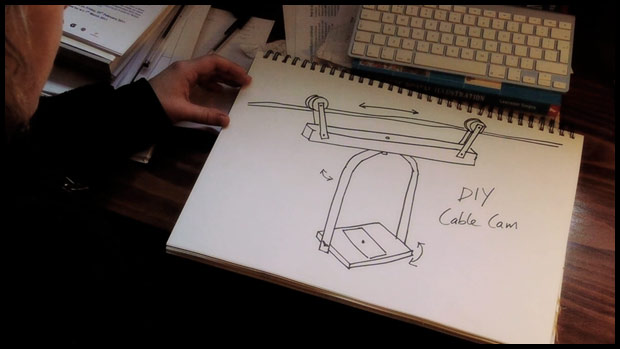
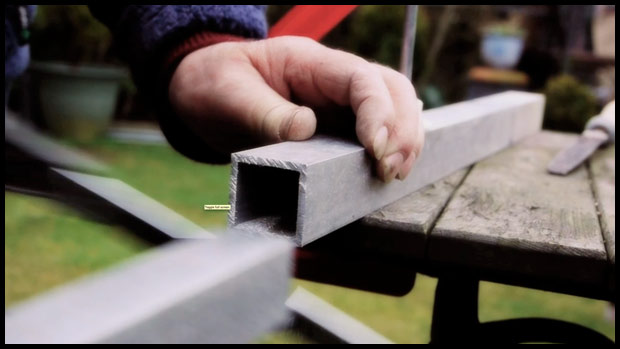
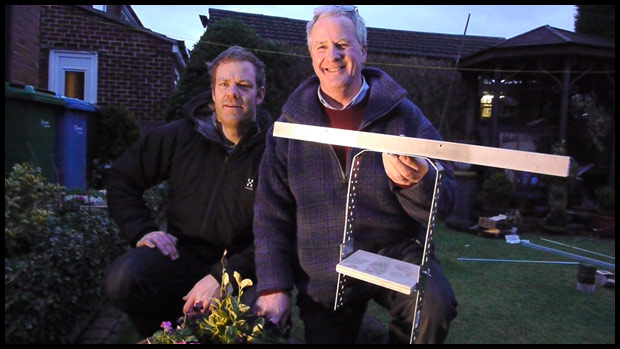
We selected some heavy duty aluminium box section, found in H’s Dad’s shed. (We saw some steel or Aluminium box section in B&Q which would have been fine.) Cutting the box section to length was easily done, we cut it at about 75cm. The frame for the camera to sit in was made by bending the drilled steel plate to make a squared off U shape. The tilting plate for the camera was made using a cut to shape section of plywood and the corner brackets from B&Q screwed together. These all bolted together with some M6 threaded bolts cut to size and butterfly nuts. The thought then was to use cord to attach the pulleys to the box section once the cable was in place. This was all bought and cobbled together in about 4 hours on a Sunday afternoon.
The first version used Petzl fixed pulleys, but these are too heavy duty and not free running enough. The second version, 2.0, used the wheels from some half decent rollerblades we picked up at a bargain price.
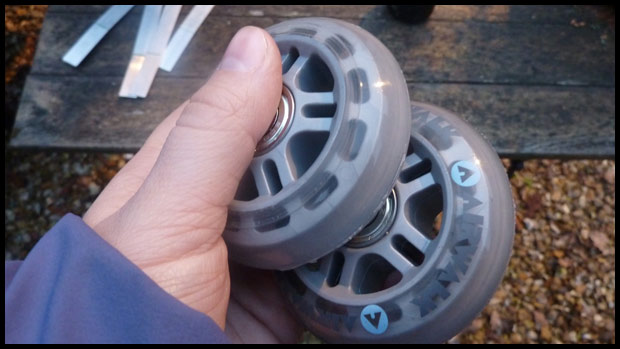
They had some very smooth ABEC 5 bearings in them. We cut some aluminium bar into 4 equal sections and gave them a slight flare to take into account the additional width of two wheels side by side compared to the width of the box section. We drilled holes at either end and then bolted the plate to the box section and the wheels with appropriate spacers to the aluminium plate. Very smooth rolling with no discernible vibration.
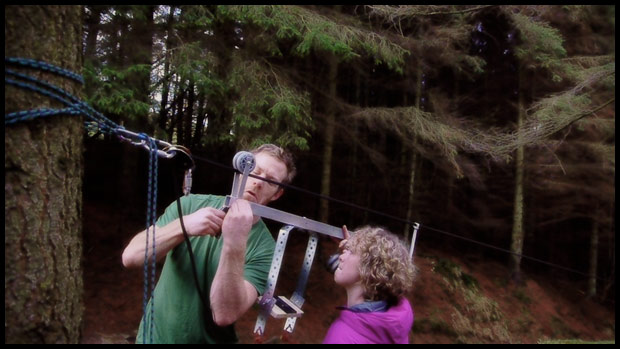
The rope we used was a semi static rope bought in a climbing shop, a bunch of climbing slings and screwgates. The major piece of kit that does all the work was a Petzl protraxion, essentially a pulley+locking mechanism. Attach rope at desired trees using slings then tension at one end using protraxion and a lot of grunt power. Attach cable cam to tensioned rope and get ready to film.
Stuff we learned:
1) Choose a very slick wheel/pulley, the less rolling resistance the better. We used a set of rollerblade wheels with good quality ABEC 5 bearings in. £79.99 new. On sale for £25, bargain.
2) A camera keeper for when you are setting up shots – ie a tether for the camera so it can’t go sliding down the rope accidentally.
Here’s a selection of screen shots taken from the Cable Cam footage and a short 3 minute video of how we created the Cable Cam and testing it out on The Beast in The Peak District:
We’re in the process of making a new mountain biking film over the next twelve months so click http://www.facebook.com/maiamedia