Share

Features

Mavic Adventures Part 2 | How To Shoot Mountain Biking With A Drone

Hitting the dirt trails with the DJI Mavic Pro

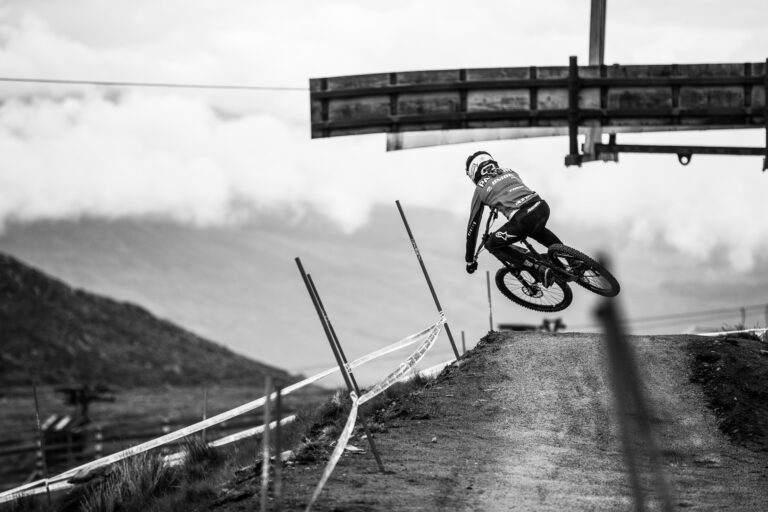
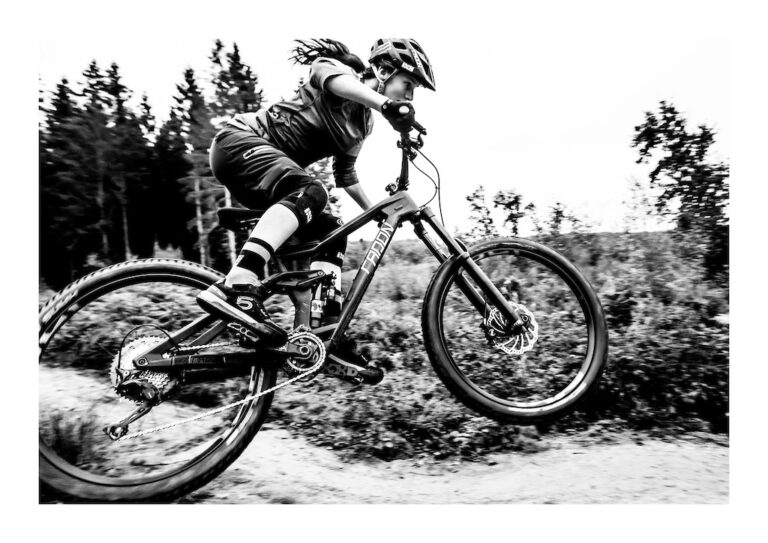
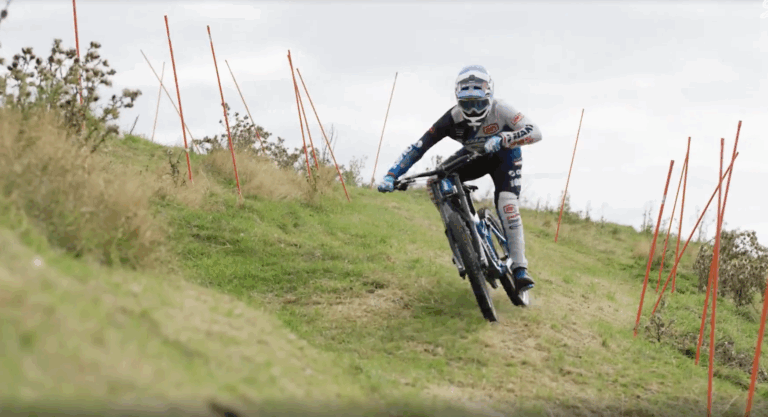
Mountain biking is all about flowing at speed over difficult terrain, but keeping up with the action using regular cameras is a tough ask.

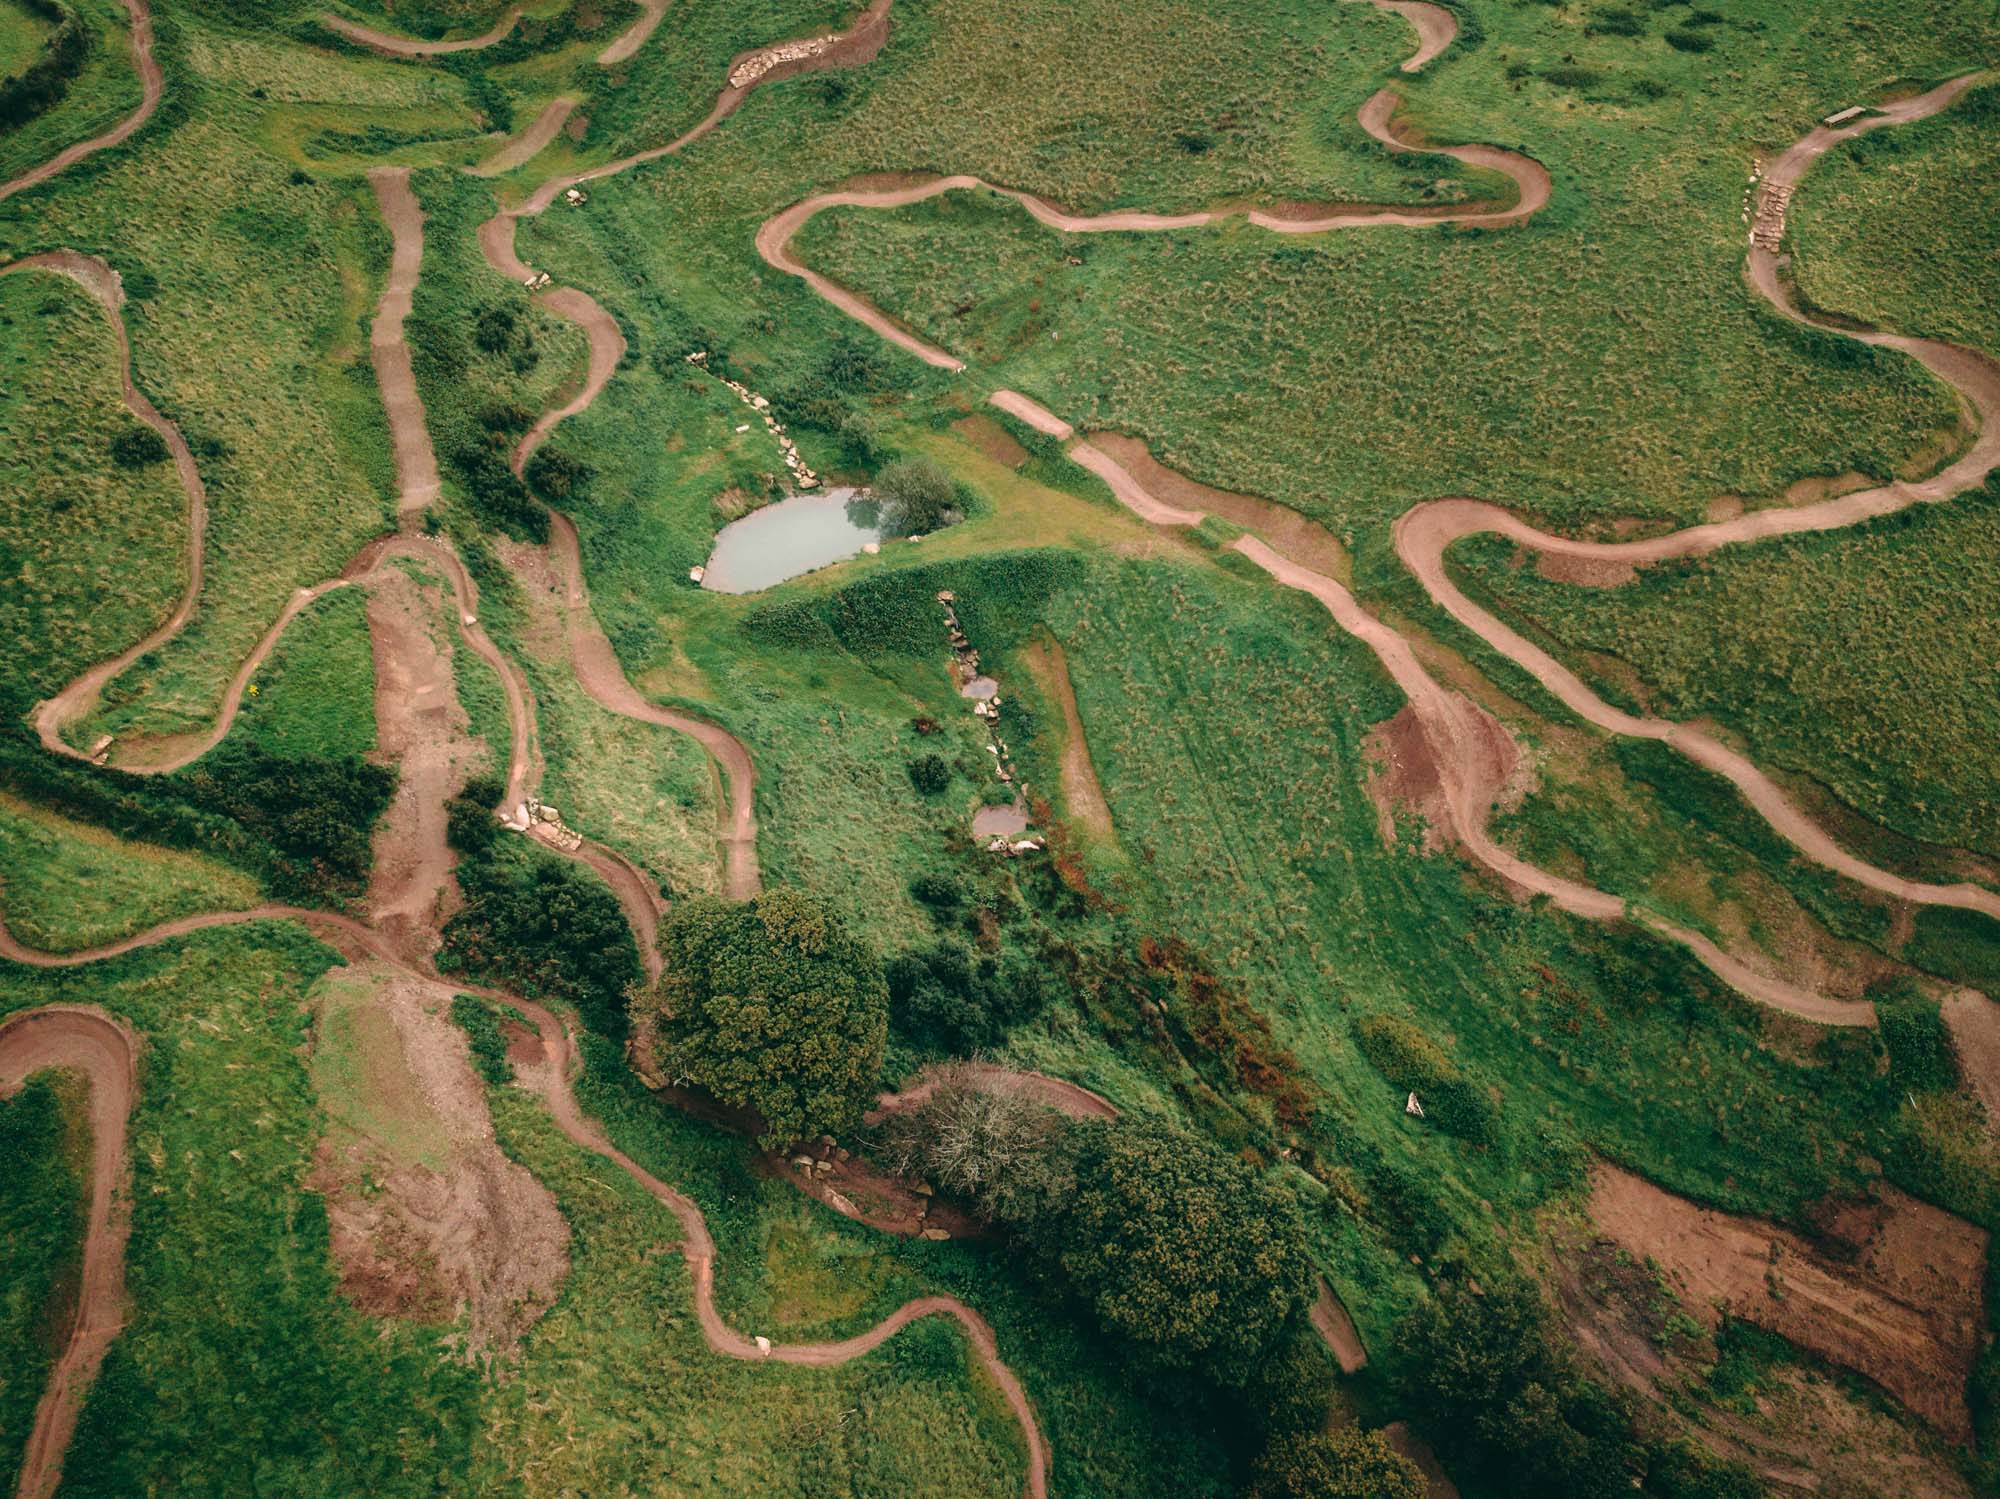
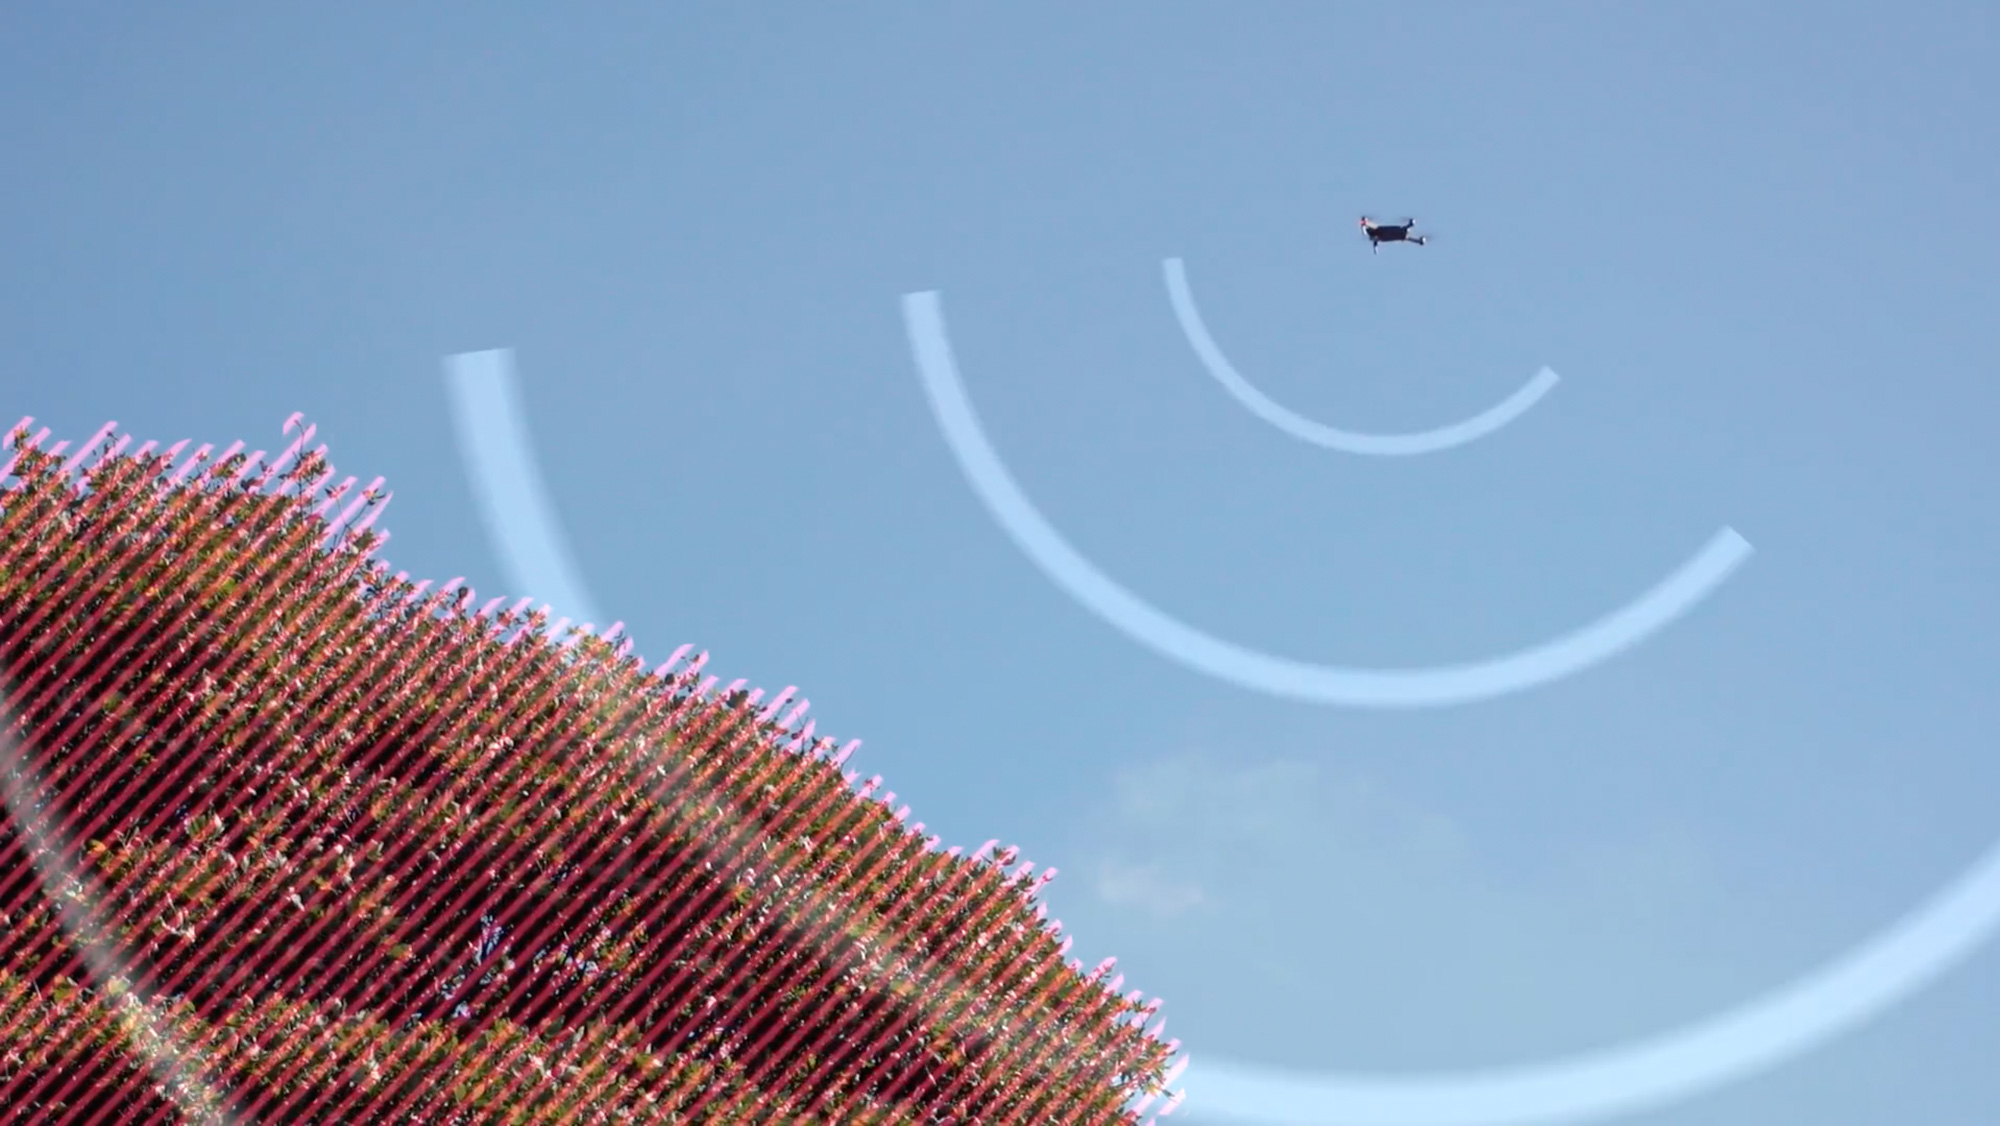
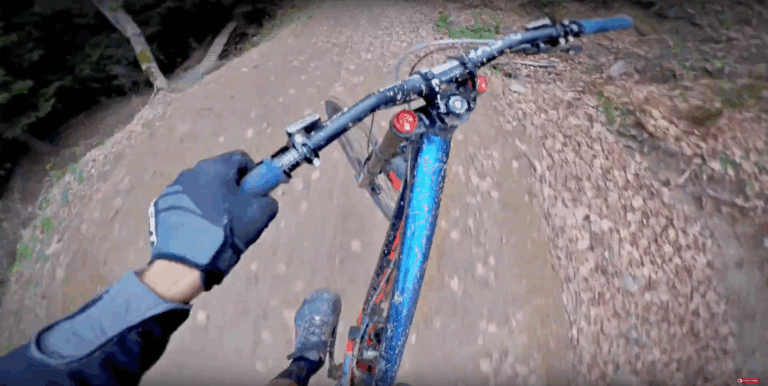
The lightweight and portable DJI Mavic Pro is super easy to bring along for the ride, and the angles you can get with this thing make a rad change to the usual POV footage. Assuming you’ve mastered the basics of how to fly a drone, the Mavic also boasts some really useful Intelligent Flight modes that make the job even easier. We took one along to Woody’s Bike Park in Cornwall to put them to the test.

“The angles you can get with this thing make a rad change to the usual POV footage”

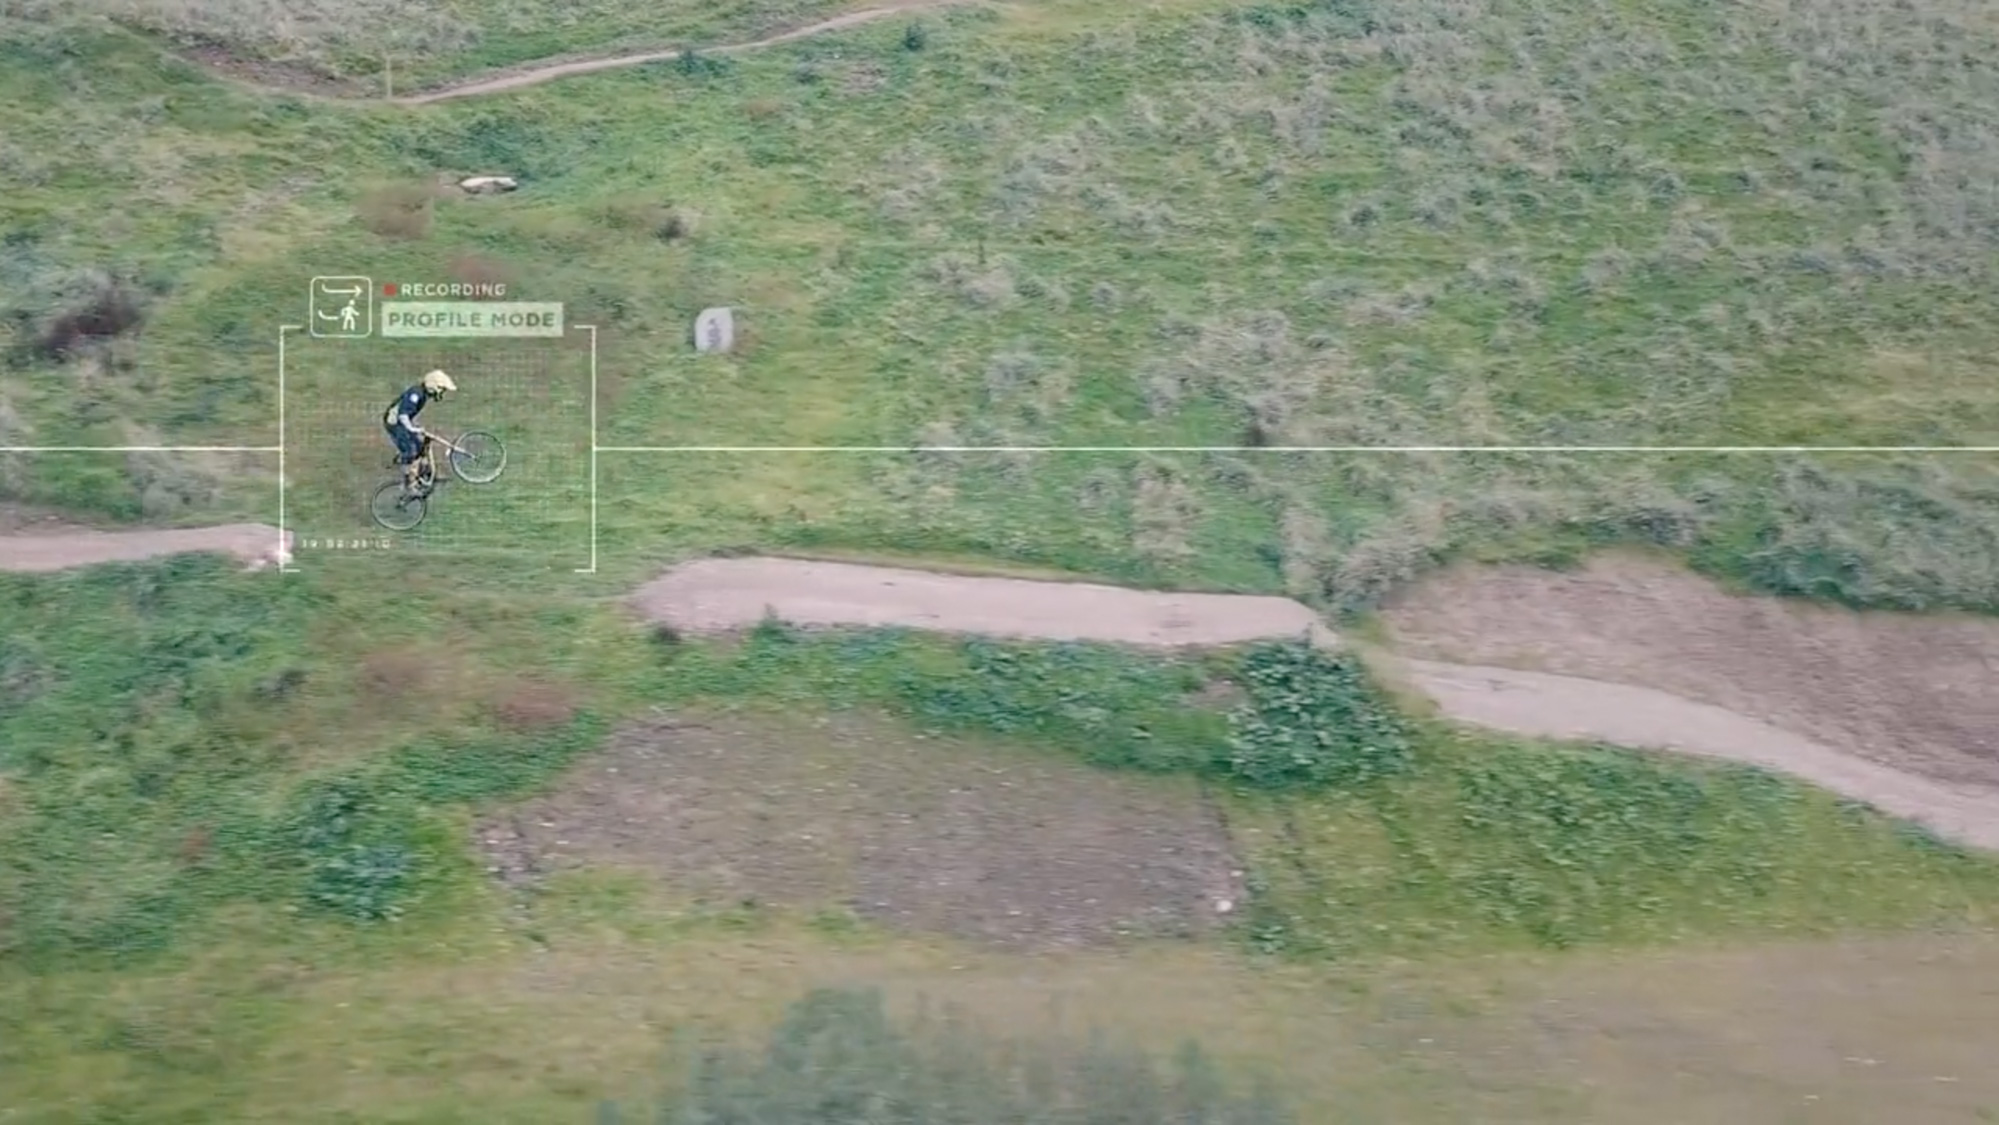
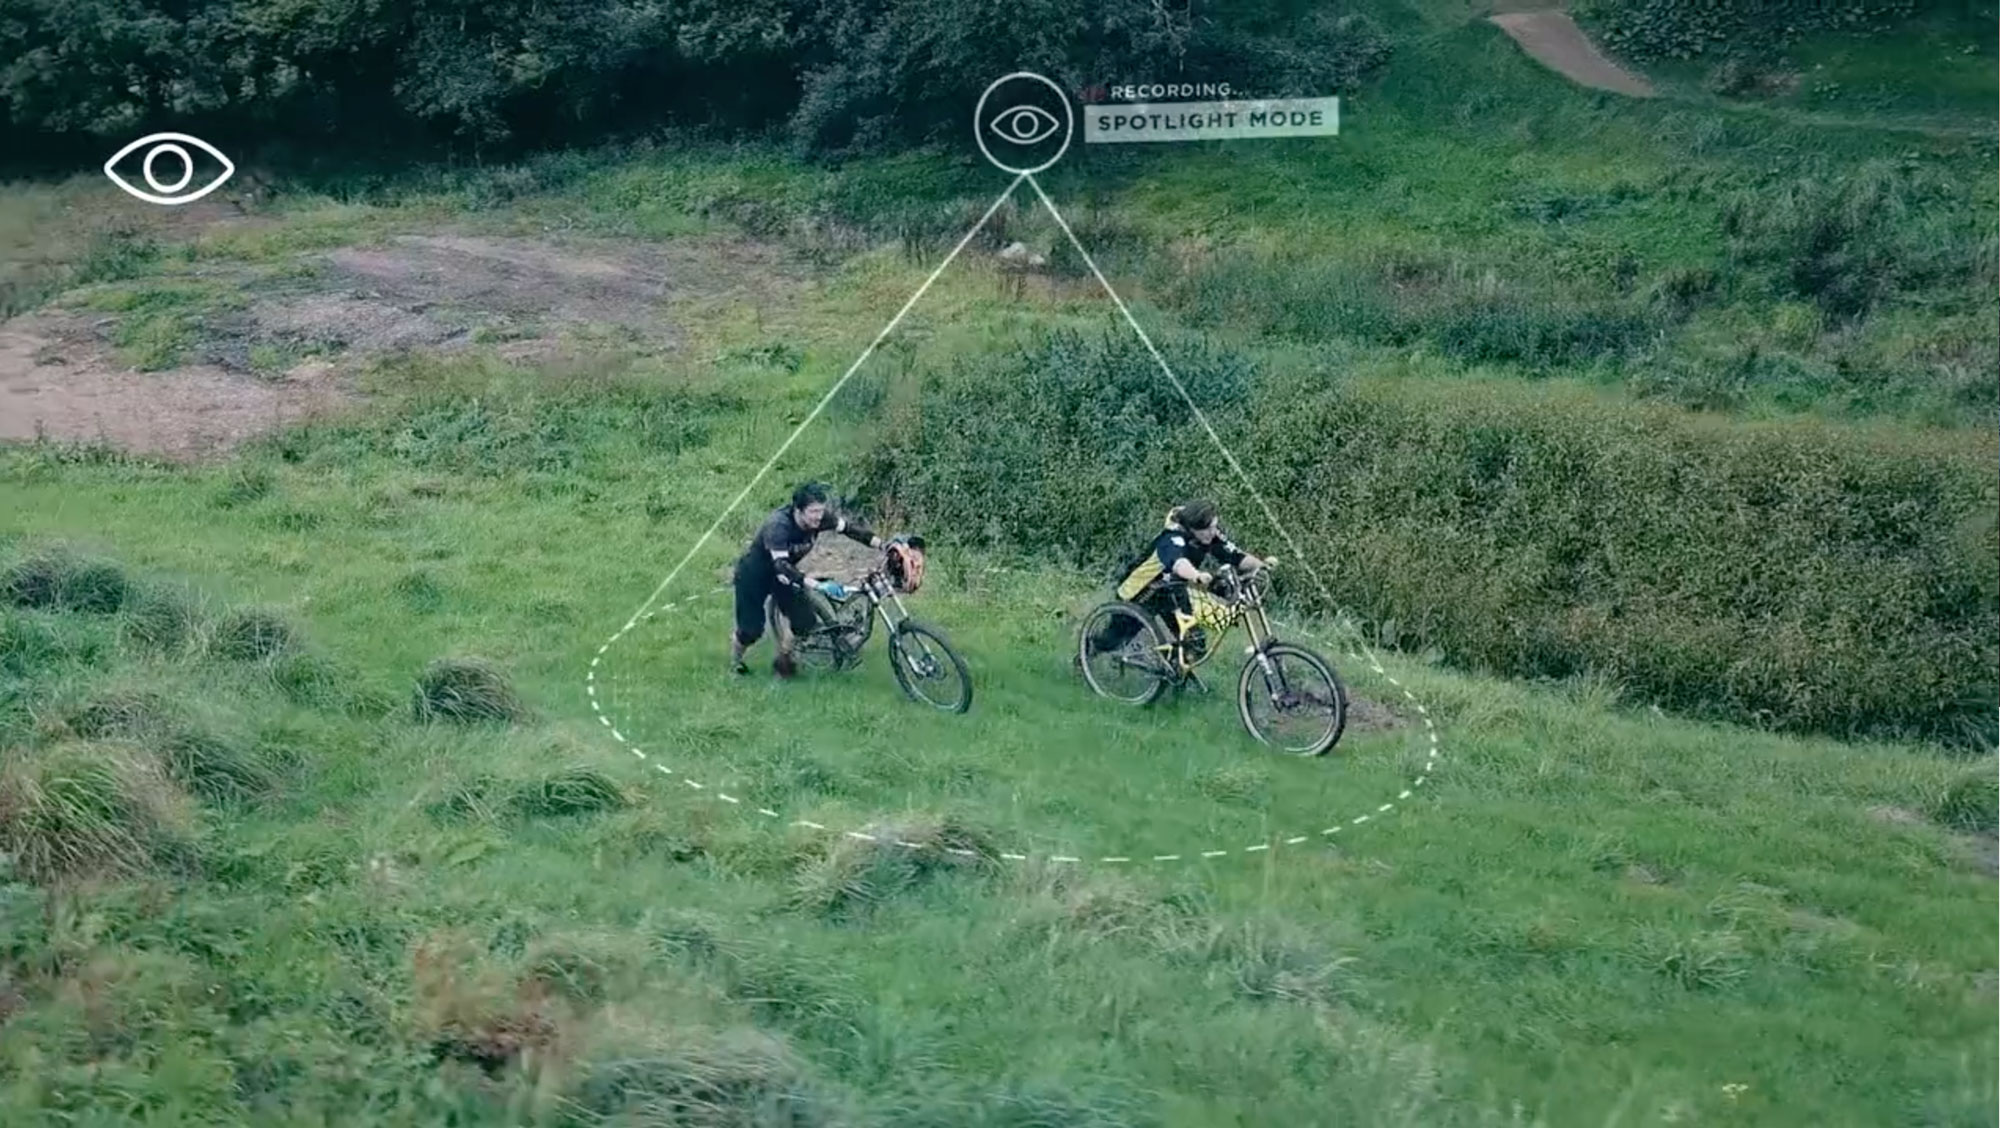
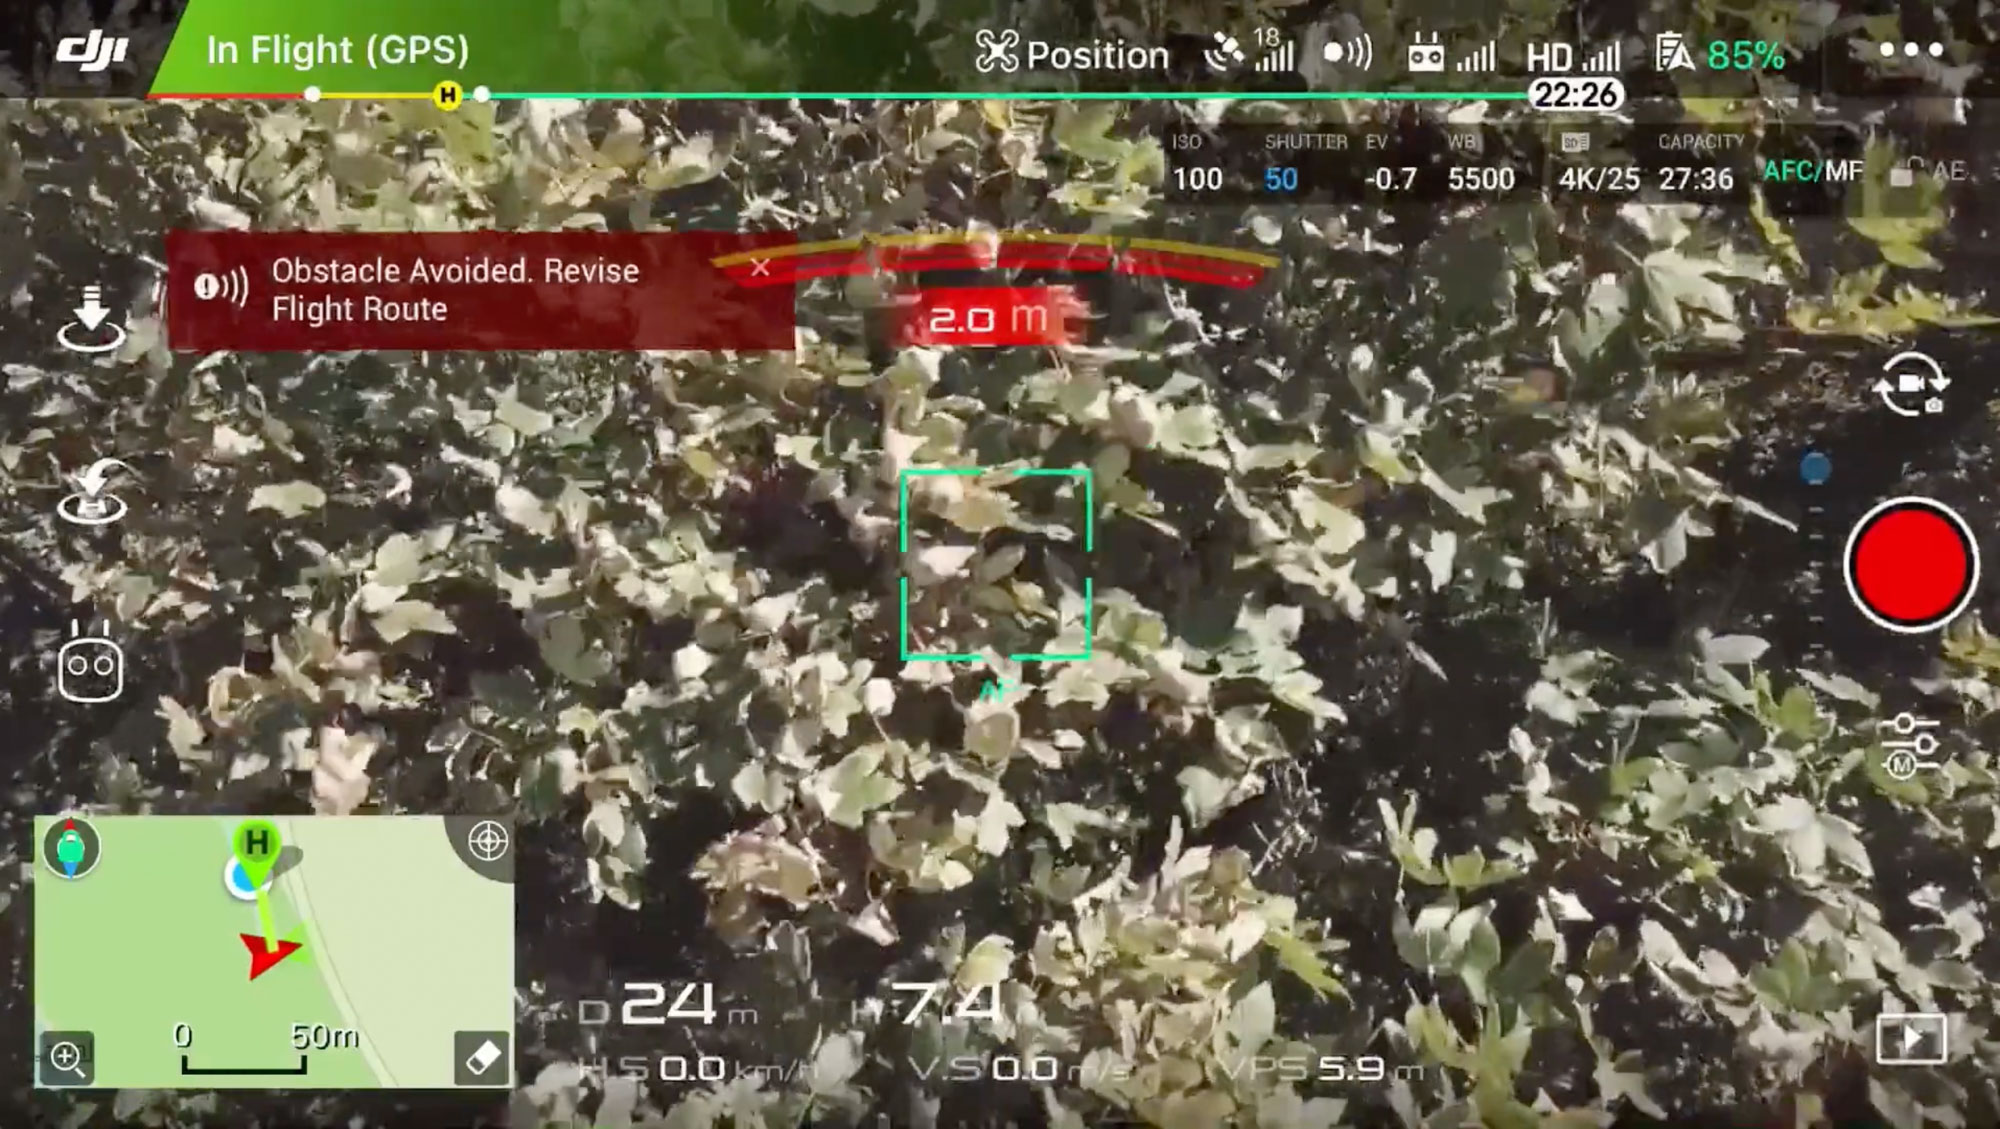
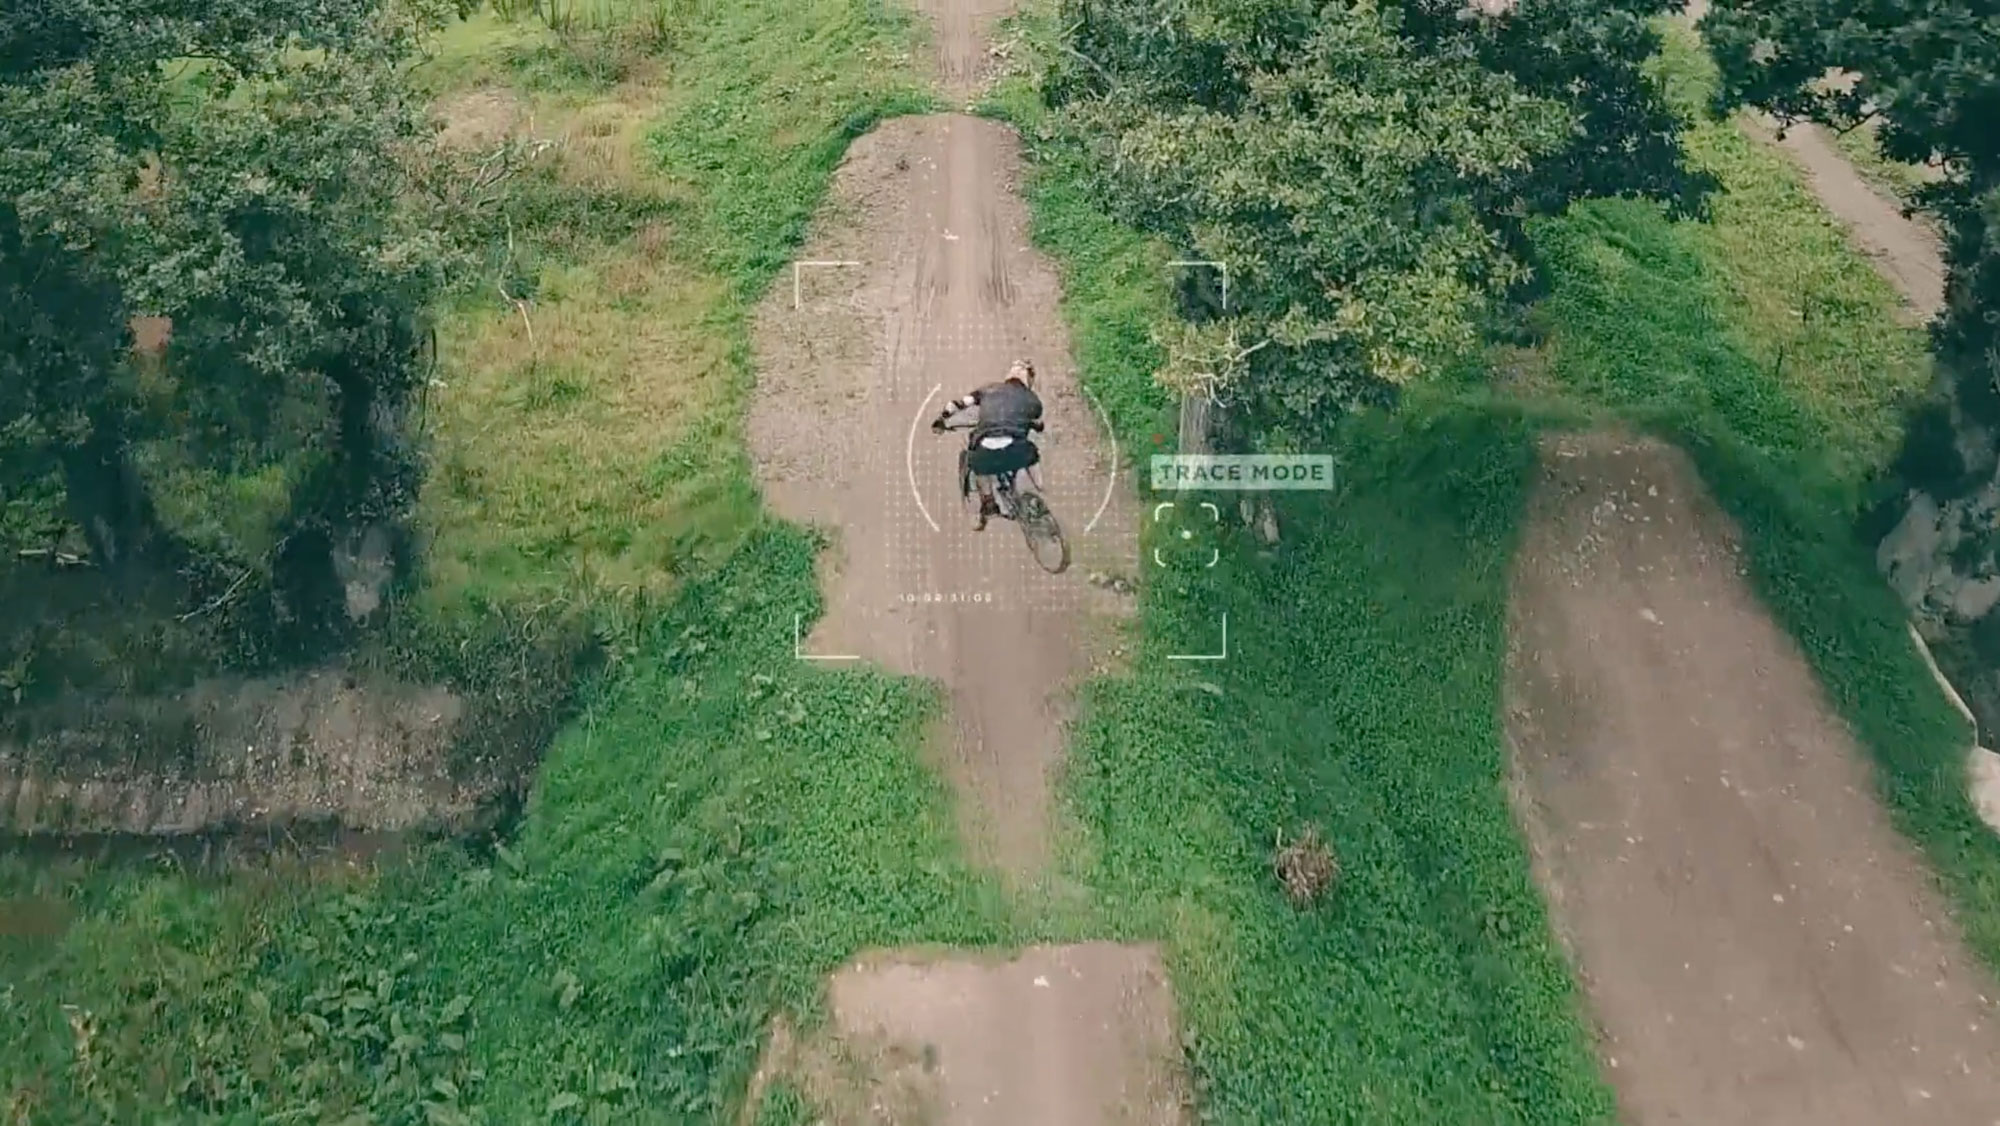
Let’s start by taking a look at Active Track. There are three variations of this setting (Trace, Profile and Spotlight) but the basic idea is the same: the Mavic make will follow a moving subject automatically, leaving you free to concentrate on recording the action.

More info here

With Trace mode enabled, simply position yourself behind or in front of the rider before they set off. Now tap on the subject (or draw a box around them if they’re a long way from the camera) and the Mavic will follow them along the trail.

To initiate active tracking, simply tap on the subject or draw a box around them.
Trace mode follows your subject from behind or in front.

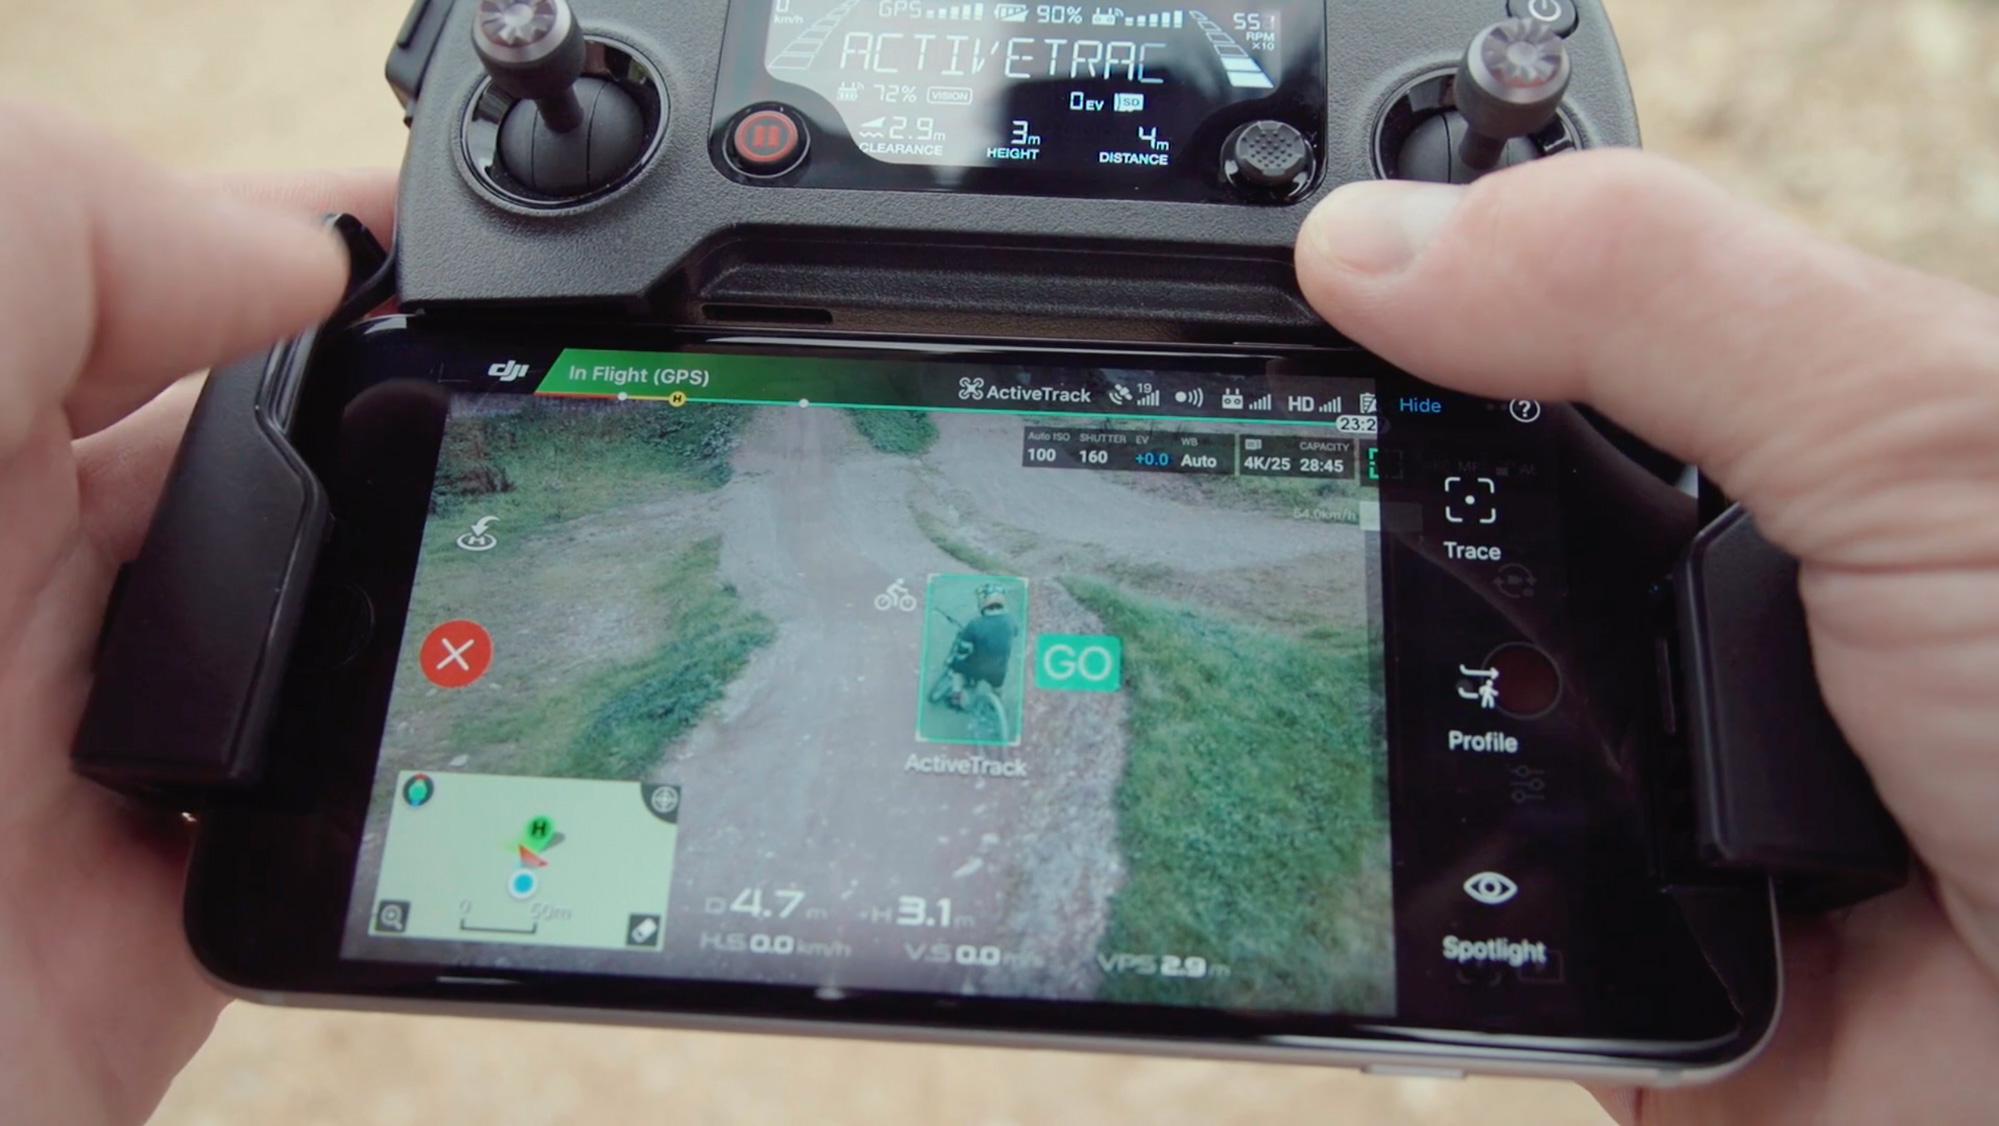
To record video, hit the button on the top left of the remote. To take a still, it’s the one on the right.

Profile mode is almost the same, but this time the drone follows the rider from the side. Line yourself up alongside, and then again, just tap on your subject and off you go!

Profile Mode tracks your subject from the side, for a really dynamic shot.

Spotlight mode is really cool. With this setting, you can use the sticks to rotate your drone around the rider as they’re moving; the Mavic will automatically keep them in the centre of the frame at all times.

Spotlight Mode keeps the camera focused on the subject at all times – they will remain in the centre of the frame while you pan around them.

Another great feature for shooting bikes is Sport Mode. This boosts the Mavic’s top speed to an impressive 40mph.

One shot to try with this setting is called the “pull back”. Start close to the rider, flying backwards as they set off down the trail, then accelerate out to reveal more of the hillside – it’s a good way to showcase the scenery and put the action into context.

The 'pull back' shot is a classic cinematic technique for revealing the landscape in dramatic style.

When it’s time to land, just press “Return to Home” and the Mavic will find its own way back to you. Thanks to its front and downward facing sensors, it will even fly over any objects that might be in the way.

The Mavic comes loaded with front and downward sensors which enable it to avoid obstacles, even when returning to home by itself.
If the Mavic detects an obstacle, it will immediately stop and present you with a warning via the DJI Go app.

This comes in super handy when you’re shooting a mountain bike trail with loads of trees around. It even works in the middle of a flight if you accidentally get too close to the landscape.

Join us for the next instalment, when we’ll be taking the Mavic to the surf and exploring a few more of its features.

Big thanks to all the guys at Woody’s Bike Park including Chris Lamely, Tom Isted, Jon Wood and Ben Thomas.

More info here.

Sponsored by

Share

Newsletter Terms & Conditions

Please enter your email so we can keep you updated with news, features and the latest offers. If you are not interested you can unsubscribe at any time. We will never sell your data and you'll only get messages from us and our partners whose products and services we think you'll enjoy.

Read our full Privacy Policy as well as Terms & Conditions.

production