A complete set of instructions showing you how to build your very own wooden jump.
I wrote this for Dirt Magazine back in February 2008 (issue # 72-the Homemade edition…jolly good issue that was) and also posted a sketchy video up too. A lot of folk since then have stumbled across the video and emailed in asking if any plans are available.
Well seeing as that back issue isn’t available any more I thought I’d post up the whole article incase any budding carpenters fancied knocking up their own ramp.
More Other Videos
My Name Is Mr Brown and I do Woodwork
By Billy Thackray
Photos:Mike Rose
OK get your dungarees on and your tape measure out, I’m going to go all Blue Peter this month with a How–To lesson on ramp building. Now before you say “Whoa, there cowboy, who do you think you are, Mr Brown or something?” (Mr Brown was my woodwork teacher at school, his motto was always ‘thumbs up to safety in the workshop’, the ironic fact being that he had chopped one of his thumbs clean off with an sharp saw, but he was good at wood). I’ll tell you that I’m probably the last person to tell you how to make anything apart from maybe a cheese sandwich, I’ve got my own slapdash carpentry style, and I don’t pretend to know much about ramps either, but I’ve built one before and it worked great, so I’m writing this as a rough guide. You probably know that a quick sniff on the Internet will show you hundreds of ways to build a ramp.
So here goes the bluffers guide to building a ramp. Oh, one important point, I’ve used cheap USB board because I’m a bit skint at the mo, but if you want your ramp to survive years of abuse outdoors you really need to use marine plywood, it’s definitely worth the extra wonga.
MATERIALS
• O n e 1 2 2 0 m m x 2 4 4 0 m m ( 8 x 4 ) s h e e t o f 1 8 m m p l y w o o d , a b o u t £ 4 0
• O n e 1 2 2 0 m m x 2 4 4 0 m m ( 8 x 4 ) s h e e t o f 9 m m p l y w o o d , a b o u t £ 3 0
• A b o u t 1 5 m o f 7 5 m m x 5 0 m m ( 3 x 2 ) ta n a l i s e d t i m b e r , a b o u t £ 2 5
• S e l e c t i o n o f s c r e w s ( S c r e w F i x d o c h e a p p a c k s ) £ 1 0
• W o o d g l u e £ 5
• C h e e s e sa n d w i c h £ 2
• C u p o f t e a 5 0 p
TOOLS
• J i g saw
• J a c k saw
• C o r d l e s s d r i l l / d r i v e r
• C h o p saw
• P i e c e o f st r i n g
• P e n c i l
• T a p e m e as u r e
• S a n d e r
• H a m m e r
• R a d i o
• P l ast e r s ( f o r c u ts )

STEP 1 THE TRANSITION
It’s all about the transition darling. Getting the transition right is crucial, you’ve got to decide whether you want to gain height or distance, should you have a steep or mellow curve? It’s up to you. I copied the curve of a previous wooden booter that I’d built ages ago, but the big cheese told me he wanted facts, he wanted numbers, he wanted the science behind it. With that in mind I took my piece of string and a stone and experimented with different radii, trying to match the freehand curve I had sketched earlier The nearest I got was an 2440mm (8 ft) radius, so I went with it.
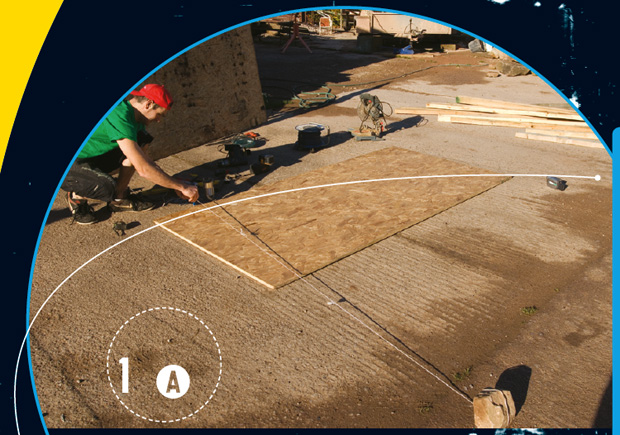
Attach one end of the string to a fixed point and tie your pencil 2440mm (8 foot) away. Have the fixed point parallel to the end of the board, and with the pencil sketch out your arc/transition, you should start about 300mm from the end to leave enough room for the opposite side.
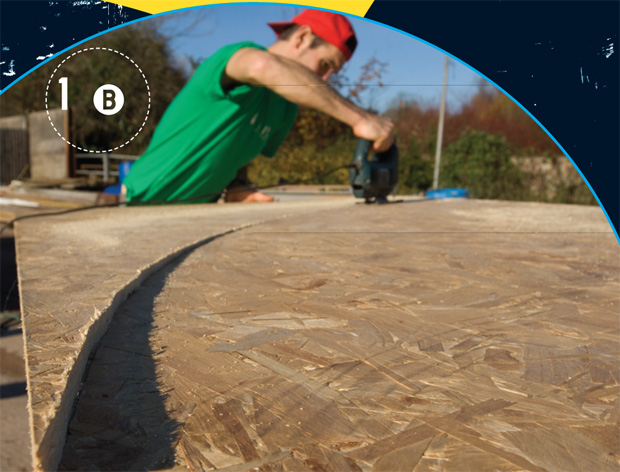
Supporting the board on a trestle or I found an old VW Caddy worked well (you can often find them in farmers fields) then cut along the dotted line.
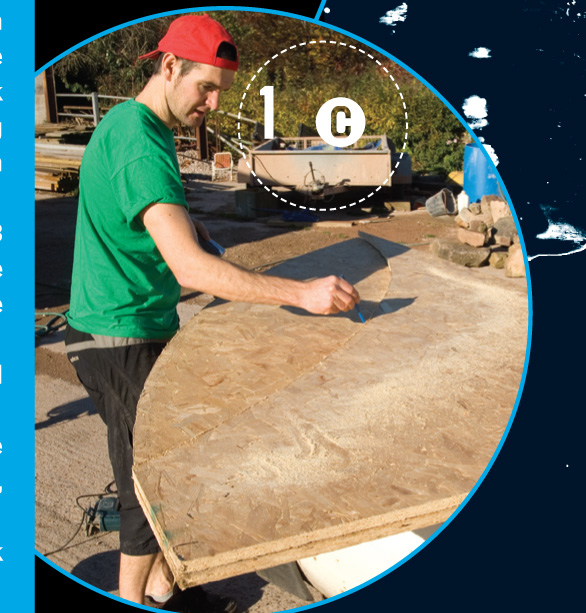
Once cut, lay the template over the remaining sheet and mark along the edge with your pencil, and cut out the opposite side with the jigsaw as before, keep it neat.
Now place the two sides together, any major bumpage will need a quick whizz over with the sander.
STEP 2 BUENOS NOTCHES
Another argument in the office, I wanted to notch out the sides of the ramp for the cross members, the others said don’t bother just screw them in. As a compromise I notched half of them and butted the other half square up against the sides. You can do either or both.
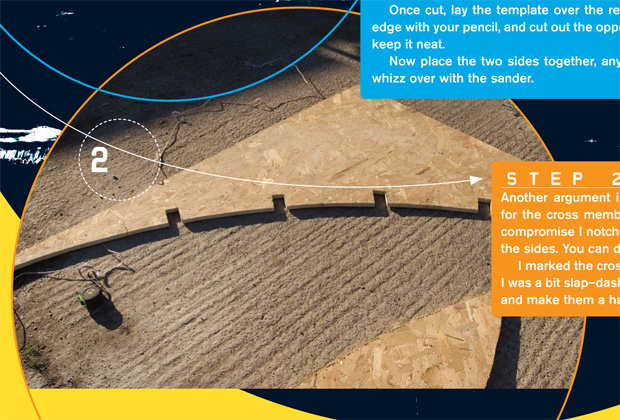
I marked the cross members at 200mm centres and notched out every other. I was a bit slap–dash resulting in sloppy notches, make sure you’re more careful and make them a hammer–tight fit, maybe add a touch of wood glue too.
STEP 3 CROSS MEMBERS
Decide how wide you want your ramp; I’ve gone for 900mm just because it looked about right. I’m using 75mm x 50mm (3×2), but you could use 4×2 timber for a bit more strength.
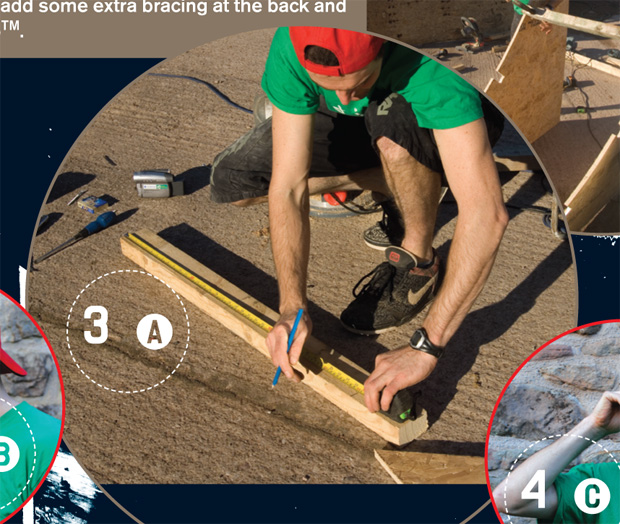
Using the chop saw, or a bit of elbow grease and a jack saw, cut the cross members to suit your width, in my case 900mm for the notched ones and 864mm for the internal ones.
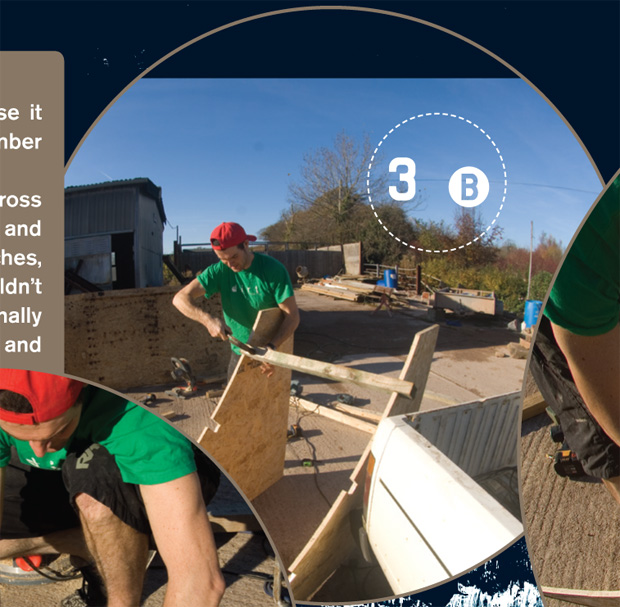
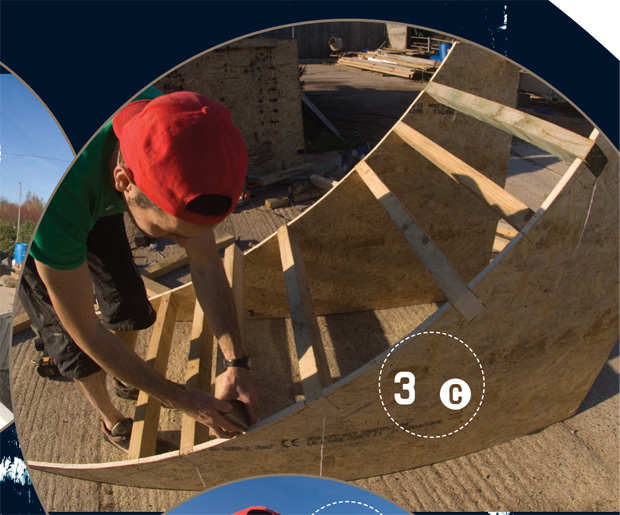
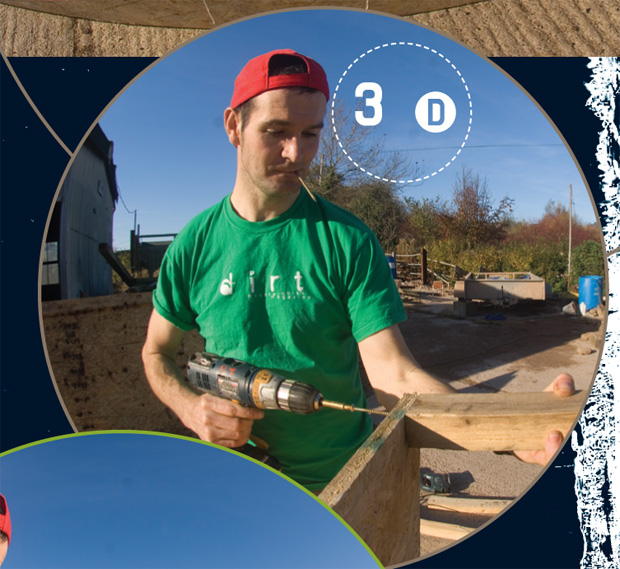
Next up dab some wood glue around the notches, and hammer in the cross members, a diagonal screw from the side wouldn’t go amiss, just to hold the cross members in tight. Then screw in the internally butted cross members. You also need to add some extra bracing at the back and at the base of your Down and Out RampTM.
STEP 4 CUP OF TEA
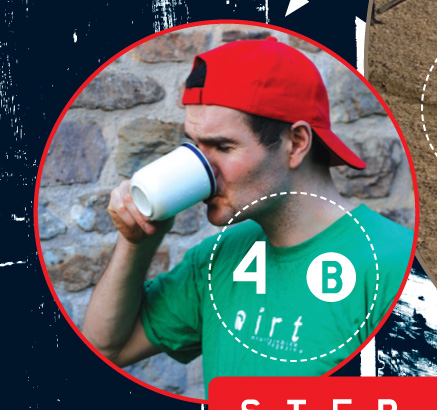
It’s probably a good time to take five, shake the sawdust out of your hair, sit down and relax with cup of tea, the end is in sight.
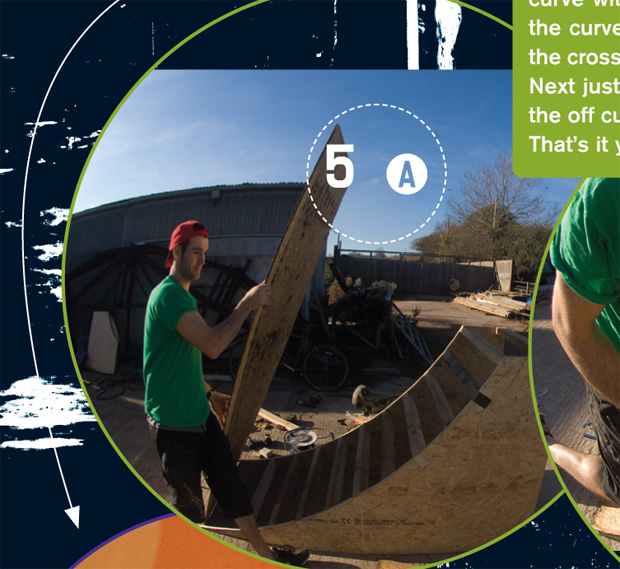
STEP 5 THE RAMP FACE (SURFACING IN OTHER WORDS)
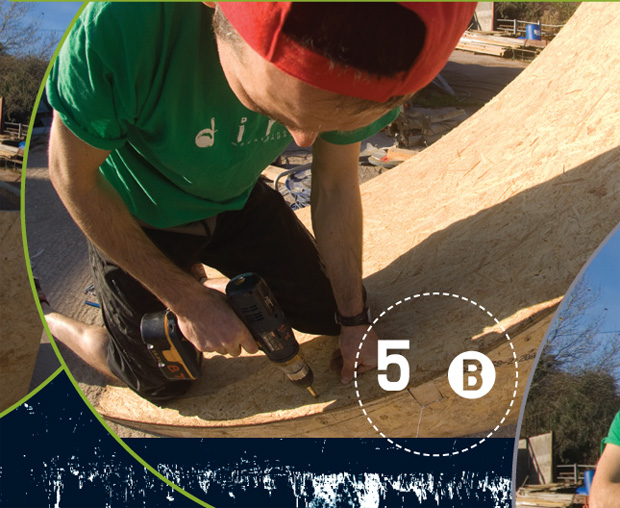
Measure the width of the ramp and cut the 9mm plywood to suit. Now for the length, you could measure the length of the curve with a piece of string, or just blast on. Lay the ply over the curve, get your mates to stand on it while you screw it to the cross members, about four per cross member should do it.
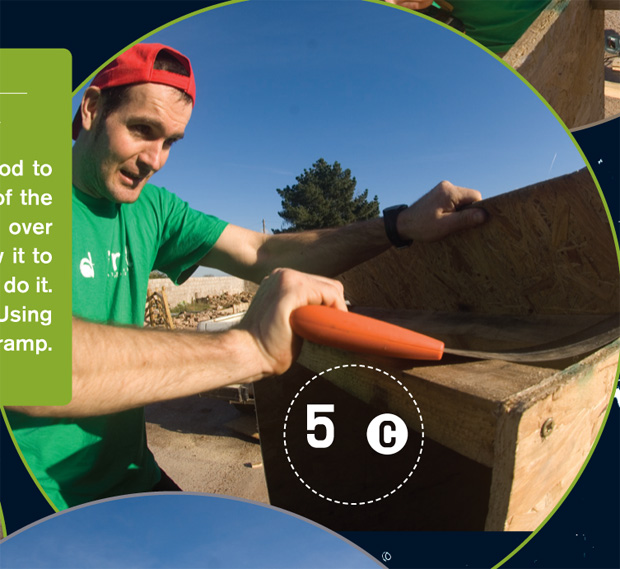
Next just lop off the excess at the top with the jig saw. using the off cuts of 9mm plywood cut one to fit the top of the ramp. That’s it your ramp is complete, well done.
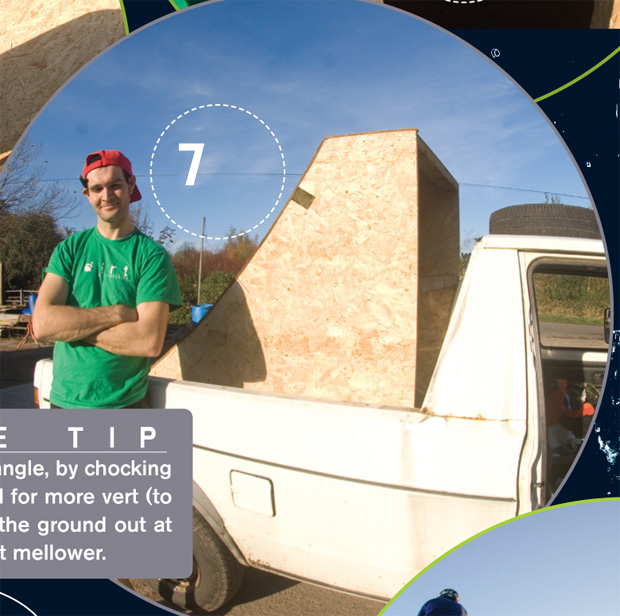
STEP 7 THE TIP
You can easily alter the angle of dangle, by chocking up the back of the ramp with wood for more vert (to ‘send’ you), or conversely digging the ground out at the rear to make the transition a bit mellower.
STEP 6 THE TART UP
Once your pride and joy is complete, a good idea is to slop on a few coats of paint, my painted plywood ramp has been outside for three years and still going strong. With a sniff of ingenuity you could also rig up a set of wheels so you can cart your construction around, or maybe some handles on the side for manoeuvrability.
STEP 8 The fly Off
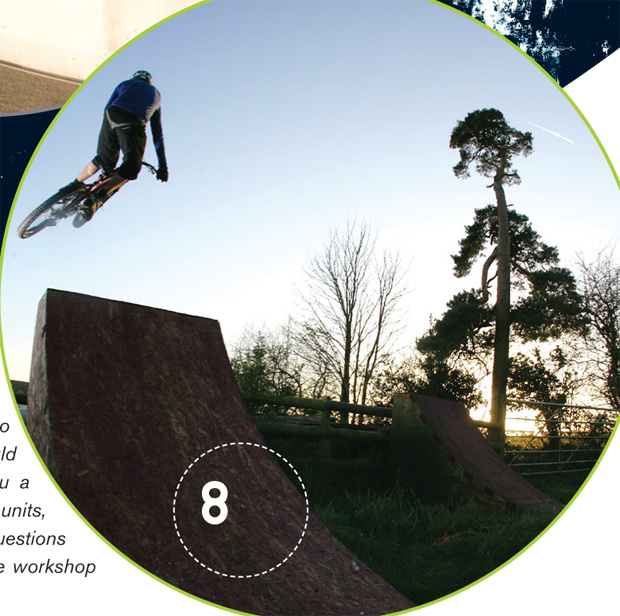
All that’s left to do is jump the bugger. Just find a suitable downslope, pond or in this case a big pile of pillows, pedal at top speed and geroniiiimmmooo, we have lift off.